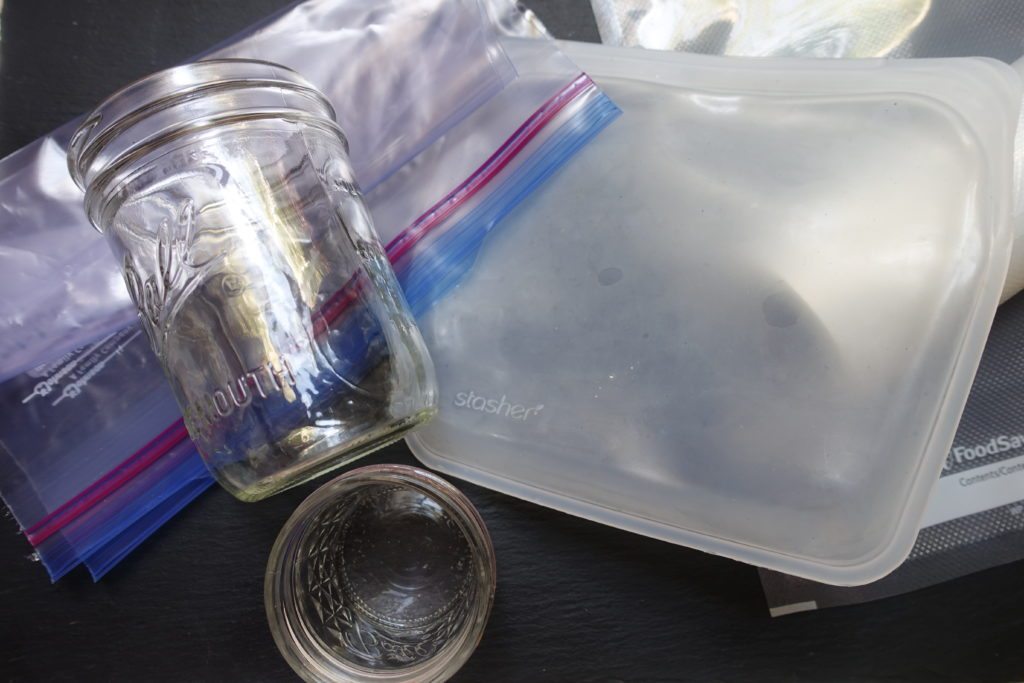
As the sous vide method of cooking gains traction around the globe, packaging questions have come up – and we're here to answer them. Welcome to Anova’s Simple Guide to Sous Vide Packaging. People often ask, "do i need a vacuum sealer for sous vide?" Spoiler alert: no – but we'll tell you about it anyway.
Resealable Bags
Resealable, zipper-locking bags are a convenient and popular method of containment for sous vide cooking. Brands like Glad and Ziplock offer cost-effective, BPA-free options that are easy to find in most supermarkets or on Amazon. Stick with gallon-sized freezer bags for a durable, versatile option that our customers recommend for all types of dishes. Why they're great... cost effective, easy to find, convenient. Perfect for... just about anything you can sous vide, from scrambled eggs to meats, fish, and vegetables! Handy tip... double bag your ingredients for longer cooking times, higher temps, or rigid materials (exposed bones, butter knives for weighting).How to Use Sous Vide Bags
Place your ingredients in a resealable bag and use the immersion method shown in the video below, or a straw to remove as much air as possible, then place in the heated bath, and you’re cooking!Bonus tip - There are lots of places to recycle your plastic bags. Look for more information at Plastic Film Recycling for recycling within the United States.
Vacuum Sealer Bags
For years, home cooks have been under the assumption that you need a vacuum sealer to cook sous vide. Vacuum sealed bags are popular in commercial kitchens, but you don’t need them to cook sous vide. However, if you choose to go the vacuum sealing route, there are more affordable options out there; one of the most popular brands currently being Foodsaver. There are plenty of other options available from Weston, The Vak Shack, Black & Decker, and more. Oftentimes, you can use the vacuum sealing bags interchangeably across different brands of the actual vacuum sealing machine, but the machine is a necessary piece of equipment for this sous vide packaging. Why they're great... super sturdy, extend shelf life of both cooked and uncooked food, machine gets the most air out of the package. Perfect for... solid food items, foods with protruding bones. Handy tip... when filling with ingredients, fold the edge of the bag over a few inches to keep it clean and save material to fit into the vacuum machineHow to Seal Sous Vide Bags
We recommend folding over the edge of the bag to keep it clean before you start to put the food in. Then fill with your ingredients, checking with the vacuum-sealing machine manufacturer’s instructions to ensure that you do not overfill. Overfilling can make it difficult to get a seal. Liquids generally also have special instructions in the user manual. Place open the edge of bag into the machine as the manual recommends, close and lock the lid, and press the “vacuum” button. Usually, sealing will happen automatically after the vacuuming, but it depends on the brand of the machine. Once it's both vacuumed and sealed, unlock the lid, remove food, place into preheated bath (or refrigerator or freezer for later use) and you’re cooking!Silicone Bags
Silicone bags or pouches are the newest to the sous vide game, although they have actually been around for a few years. With the easy use of zip-locking bags and robust strength of vacuum sealing bags, we're already predicting that this reusable form of sous vide packaging is going to be a game changer! This is what inspired us to partner with the innovative new company stasher, who makes reusable platinum silicone pouches. Why they're great... very durable, reusable thousands of times, dishwasher + freezer safe, odor/stain resistant. Perfect for... everything, especially leftovers–just reheat the next day to the same temp for the exact same quality meal you enjoyed the first time. Handy tip... add 5 minutes to your cook time to make up for the thickness of the silicone & turn inside out to wash.How to Use Silicone Bags for Sous Vide
Because these do not require any additional equipment, you essentially use these the same way as regular zip-locking bags. And as previously mentioned, the material is thicker and the methods to evacuate the air from the pouch are a hint different, though equally simple. Otherwise, like the zip-locking bags, place your ingredients in the bag, use one of the methods shown below or a technique you find that works for you, and you’re cooking.Glass Canning Jars
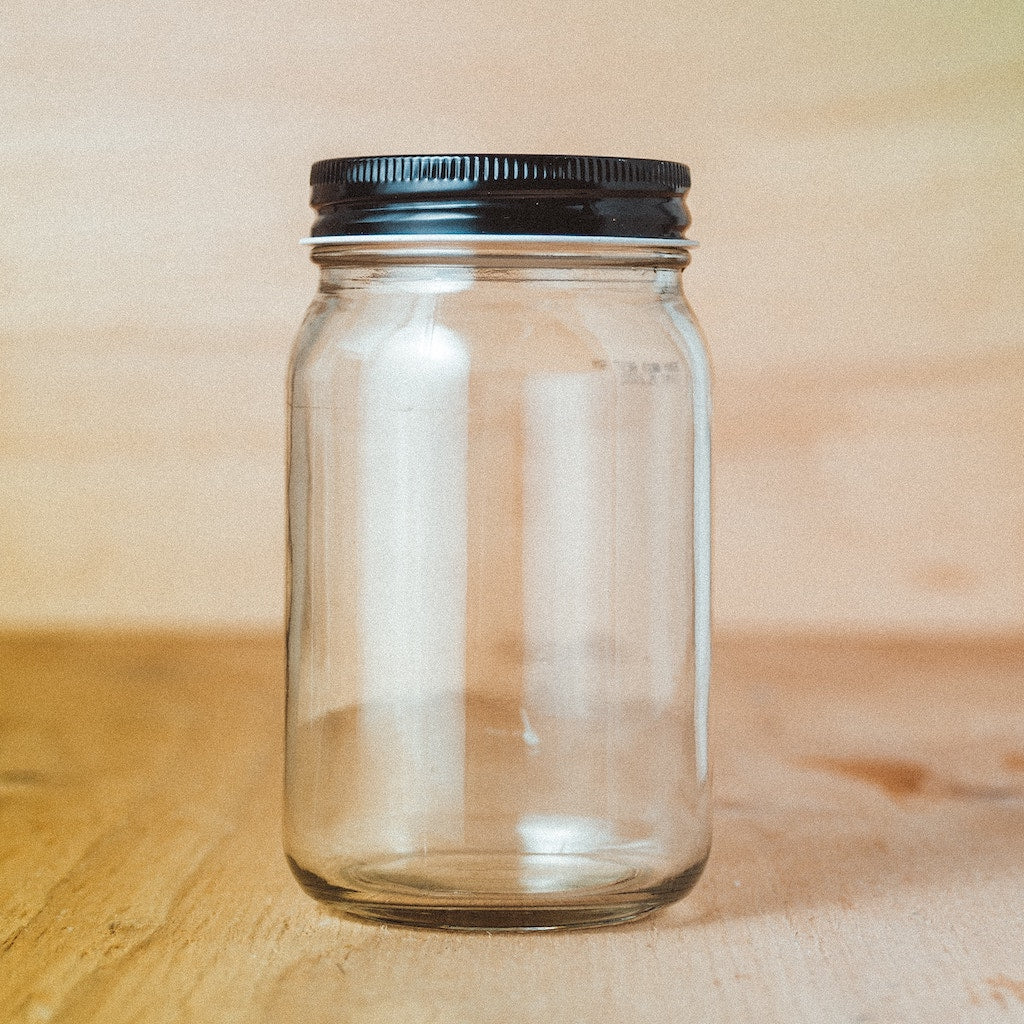
Glass canning jars are another wonderful form of sous vide packaging, especially for recipes that start off in liquid form (like sous vide egg bites). Smaller jars with two-part lids work great. Hinge-clamp closure jars, which usually have a rubber seal and simpler one-part metal lids, also work just fine. What will NOT work are plastic screw-on lids. The heat of the water expands them too much and the fillings are quickly compromised. Why they're great... convenient, easy to find, durable, reusable, dishwasher & freezer safe, odor/stain resistant. Perfect for... grains and recipes that start out in liquid form, such as “baked” desserts or egg bites. Handy tip... "Fingertip tighten" the lids only, meaning leave them a touch loose to allow air pressure to escape during cooking; it is okay if they float or are completely submerges; plastic lids will not work.How to Use Canning Jars for Sous Vide Cooking:
Place your ingredients into the jar and attach lids to fingertip tightness, as demonstrated by the video below. Submerge your jars in the heated bath. Note: sometimes glass jars will float because the air still inside when you tighten the lid is more buoyant than the jar plus its ingredients. THIS IS OKAY. Your ingredients will still cook because they will be below the waterline, thanks to gravity.Take a look at this fantastic blog post about cooking in jars for some new ideas, and now you’re cooking!
Wrapping It Up - Pun Intended!


1 comment
great article answered all my questions thank you very much ray